Создайте Nsscrollview программно в NSView-Cocoa
У меня есть класс NSView, который заботится о пользовательском представлении, созданном в файле nib.
теперь я хочу добавить NSScrollView в пользовательское представление, но мне нужно сделать это программно, а не с помощью Interface Builder (встроить в представление прокрутки).
Я нашел этот код:
NSView *windowContentView = [mainWindow contentView];
NSRect windowContentBounds = [windowContentView bounds];
scrollView = [[NSScrollView alloc] init];
[scrollView setBorderType:NSNoBorder];
[scrollView setHasVerticalScroller:YES];
[scrollView setBounds: windowContentBounds];
[windowContentView addSubview:scrollView];
предполагая, что я объявляю как IBOutlets переменные "mainWindow" и "scrollView" выше, как бы я мог подключить их к соответствующим компонентам в Interface Builder? Есть ли смысл делать это таким образом?
или есть лучший способ добавить представление прокрутки программно?
спасибо!
P.S. Я не могу подключить их обычным способом, потому что я не могу создать объект NSObject из Interface Builder или использовать владельца файла..
2 ответов
этот фрагмент кода должен продемонстрировать, как создать nsscrollview программно и использовать его для отображения любого представления, будь то из пера или из кода. В случае сгенерированного представления nib вам просто нужно загрузить файл nib в пользовательское представление до этого и иметь выход к вашему пользовательскому представлению (outletToCustomViewLoadedFromNib), сделанному владельцу файла.
NSScrollView *scrollView = [[NSScrollView alloc] initWithFrame:[[mainWindow contentView] frame]];

// configure the scroll view
[scrollView setBorderType:NSNoBorder];
[scrollView setHasVerticalScroller:YES];

// embed your custom view in the scroll view
[scrollView setDocumentView:outletToCustomViewLoadedFromNib];

// set the scroll view as the content view of your window
[mainWindow setContentView:scrollView];
У Apple есть руководство по этому вопросу, на которое я не буду ссылаться, поскольку для этого требуется доступ к Apple Developer Connection и их ссылки часто ломаются. Он называется "Создание и Настройка представления прокрутки" и в настоящее время может быть найден путем поиска его названия с помощью Google.
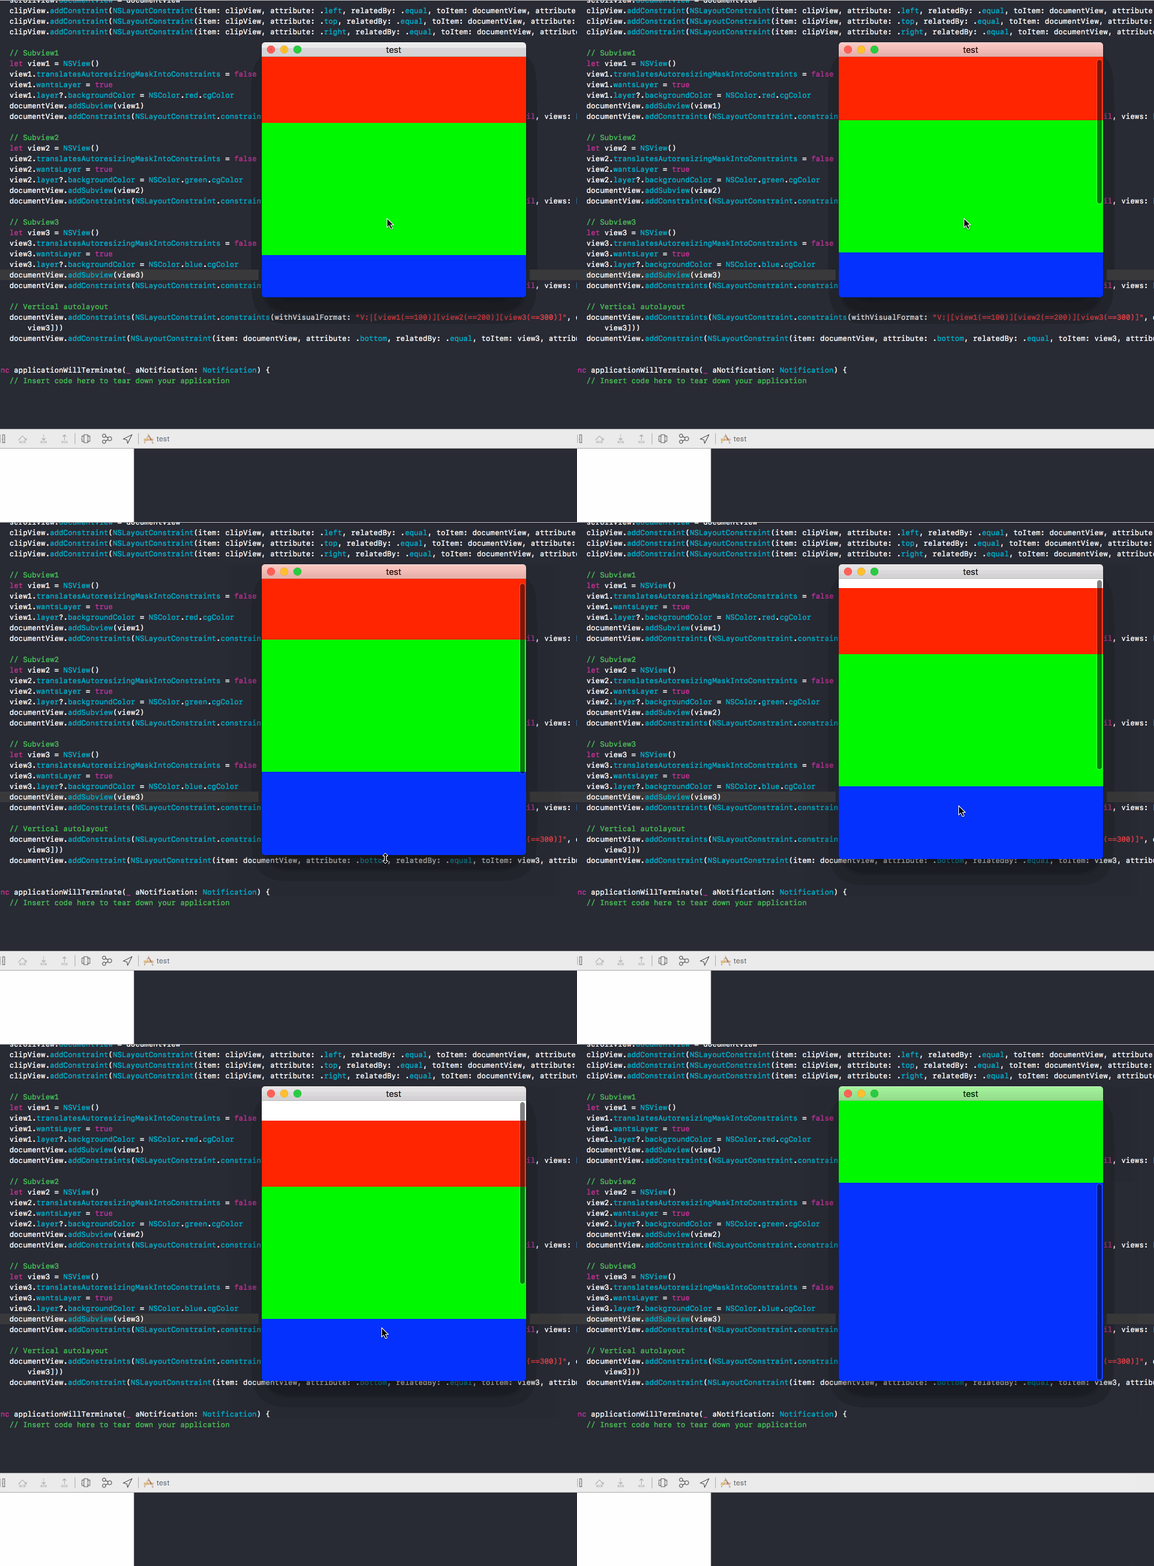
мне трудно создать NSScrollView С AutoLayout программно, но, наконец, получил это работает. Это Swift версия.
    // Initial scrollview
    let scrollView = NSScrollView()
    scrollView.translatesAutoresizingMaskIntoConstraints = false
    scrollView.borderType = .noBorder
    scrollView.backgroundColor = NSColor.gray
    scrollView.hasVerticalScroller = true

    window.contentView?.addSubview(scrollView)
    window.contentView?.addConstraints(NSLayoutConstraint.constraints(withVisualFormat: "H:|[scrollView]|", options: [], metrics: nil, views: ["scrollView": scrollView]))
    window.contentView?.addConstraints(NSLayoutConstraint.constraints(withVisualFormat: "V:|[scrollView]|", options: [], metrics: nil, views: ["scrollView": scrollView]))

    // Initial clip view
    let clipView = NSClipView()
    clipView.translatesAutoresizingMaskIntoConstraints = false
    scrollView.contentView = clipView
    scrollView.addConstraint(NSLayoutConstraint(item: clipView, attribute: .left, relatedBy: .equal, toItem: scrollView, attribute: .left, multiplier: 1.0, constant: 0))
    scrollView.addConstraint(NSLayoutConstraint(item: clipView, attribute: .top, relatedBy: .equal, toItem: scrollView, attribute: .top, multiplier: 1.0, constant: 0))
    scrollView.addConstraint(NSLayoutConstraint(item: clipView, attribute: .right, relatedBy: .equal, toItem: scrollView, attribute: .right, multiplier: 1.0, constant: 0))
    scrollView.addConstraint(NSLayoutConstraint(item: clipView, attribute: .bottom, relatedBy: .equal, toItem: scrollView, attribute: .bottom, multiplier: 1.0, constant: 0))

    // Initial document view
    let documentView = NSView()
    documentView.translatesAutoresizingMaskIntoConstraints = false
    scrollView.documentView = documentView
    clipView.addConstraint(NSLayoutConstraint(item: clipView, attribute: .left, relatedBy: .equal, toItem: documentView, attribute: .left, multiplier: 1.0, constant: 0))
    clipView.addConstraint(NSLayoutConstraint(item: clipView, attribute: .top, relatedBy: .equal, toItem: documentView, attribute: .top, multiplier: 1.0, constant: 0))
    clipView.addConstraint(NSLayoutConstraint(item: clipView, attribute: .right, relatedBy: .equal, toItem: documentView, attribute: .right, multiplier: 1.0, constant: 0))

    // Subview1
    let view1 = NSView()
    view1.translatesAutoresizingMaskIntoConstraints = false
    view1.wantsLayer = true
    view1.layer?.backgroundColor = NSColor.red.cgColor
    documentView.addSubview(view1)
    documentView.addConstraints(NSLayoutConstraint.constraints(withVisualFormat: "H:|[view1]|", options: [], metrics: nil, views: ["view1": view1]))

    // Subview2
    let view2 = NSView()
    view2.translatesAutoresizingMaskIntoConstraints = false
    view2.wantsLayer = true
    view2.layer?.backgroundColor = NSColor.green.cgColor
    documentView.addSubview(view2)
    documentView.addConstraints(NSLayoutConstraint.constraints(withVisualFormat: "H:|[view2]|", options: [], metrics: nil, views: ["view2": view2]))

    // Subview3
    let view3 = NSView()
    view3.translatesAutoresizingMaskIntoConstraints = false
    view3.wantsLayer = true
    view3.layer?.backgroundColor = NSColor.blue.cgColor
    documentView.addSubview(view3)
    documentView.addConstraints(NSLayoutConstraint.constraints(withVisualFormat: "H:|[view3]|", options: [], metrics: nil, views: ["view3": view3]))

    // Vertical autolayout
    documentView.addConstraints(NSLayoutConstraint.constraints(withVisualFormat: "V:|[view1(==100)][view2(==200)][view3(==300)]", options: [], metrics: nil, views: ["view1": view1, "view2": view2, "view3": view3]))
    documentView.addConstraint(NSLayoutConstraint(item: documentView, attribute: .bottom, relatedBy: .equal, toItem: view3, attribute: .bottom, multiplier: 1.0, constant: 0))

